
Step-by-Step Guide to Building Your House in Lahore: From Plot to Handover

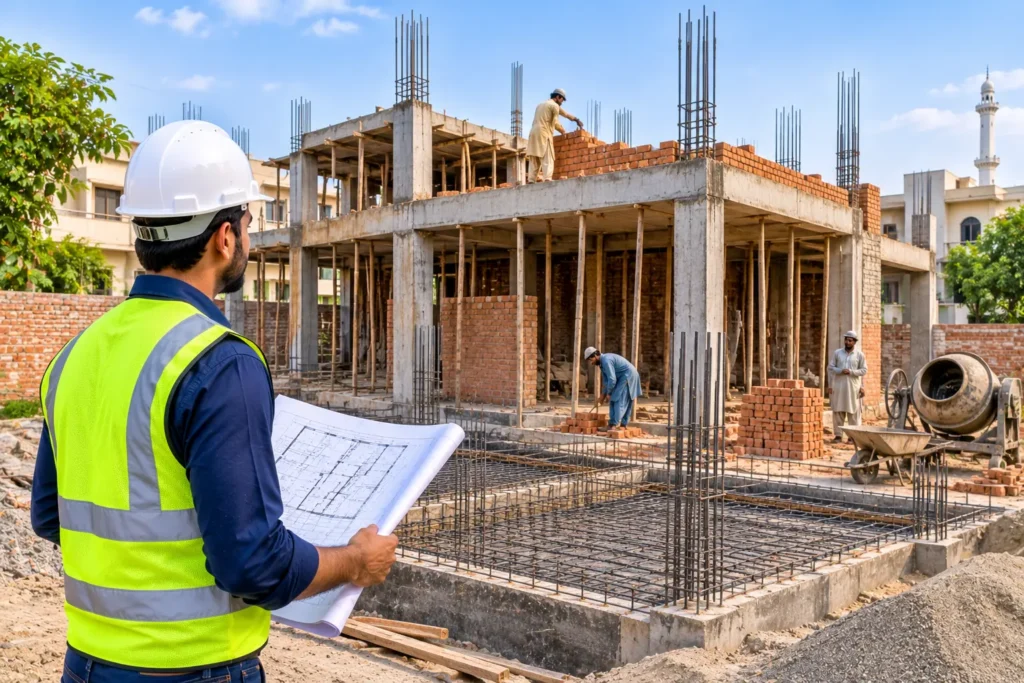
Building your own house is exciting, but it can feel overwhelming if you do not know the sequence of steps. Many first-time builders make expensive mistakes simply because they start in the wrong order, such as buying materials before the design is final or starting construction before the map is approved.
This guide explains the complete process of building a house in Lahore, from checking your plot to receiving the keys. Rules and procedures change, so always confirm the current requirements with your authority or housing society.
Key takeaways
- Verify the plot, its documents and the applicable building rules before spending on design.
- Finalise design and get approvals before construction starts.
- Sign a detailed written contract with specifications and payment stages.
- Follow the correct order: foundation, structure, services, finishing, inspection, handover.
- Keep records of payments, changes and approvals throughout.
Step 1: Verify the plot and documents
Before anything else, make sure the plot is legally yours and suitable for building. Check ownership documents, boundaries and measurements. Confirm that the plot is in an approved scheme or area, and understand any restrictions on height, setbacks and use. If you are unsure about legal documents, consult a lawyer.
- Ownership papers and transfer documents
- Plot measurements and boundaries on site
- Utility availability: electricity, water, gas and sewerage
- Any restrictions from the housing society or authority
Step 2: Define your needs and budget
Write down how many bedrooms, bathrooms and other spaces you need, how many cars you own, whether you want rental portions or a basement, and your preferred style. Then set a realistic total budget that includes construction, finishing, approvals, utility connections, boundary wall and a contingency for surprises.
Step 3: Soil and site assessment
Soil conditions influence the foundation design. In some locations, a soil investigation may be advisable, especially for larger buildings or basements. Check drainage patterns, nearby structures and access for vehicles and materials. A site visit by your engineer helps avoid costly assumptions.
Step 4: Architectural design
A good architect or design team turns your needs into a floor plan and elevations. Review the layout carefully: room sizes, circulation, natural light, ventilation, privacy, kitchen and bathroom positions and storage. Changing a drawing is cheap; changing a built wall is expensive, so take your time here.
Step 5: Structural and services design
A structural engineer designs the foundation, columns, beams and slabs. Electrical and plumbing layouts should also be planned now, not decided on site. This avoids breaking finished walls later to add points or pipes.
Step 6: Map approval and permissions
Submit your drawings to the relevant authority, such as the Lahore Development Authority or your housing society, depending on where the plot is located. Approval ensures that your design follows the rules on height, coverage and setbacks. Start construction only after receiving any required approval, because building without it can lead to penalties or demolition orders.
Step 7: Choose your builder and sign the contract
Compare detailed quotes from several experienced builders, visit their completed projects and check how they plan supervision. The contract should specify scope, materials, payment stages, timeline, change procedure and defect-correction terms. Do not start work on a handshake.
Step 8: Site preparation and marking
The site is cleared, boundaries are marked and levels are set. Temporary arrangements for water, electricity, storage and labour are organised. Accurate marking is vital because small errors here affect the entire building.
Step 9: Excavation and foundation
Excavation is carried out to the design depth, followed by foundation work with reinforcement steel and concrete as per the structural drawings. Proper compaction, steel placement, concrete quality and curing are essential. The foundation carries the entire building, so this is not the place to cut corners.
Step 10: Plinth and damp-proofing
The plinth level is built and a damp-proof course is provided to prevent moisture from rising into walls. Backfilling and compaction follow, and the ground floor slab or floor base is prepared.
Step 11: Grey structure
Columns, beams and slabs are constructed floor by floor, followed by brick or block walls. Each concrete pour should be properly cured to gain strength. Staircases are cast, and openings for doors and windows are formed. Electrical conduits and plumbing pipes are embedded or laid in coordination with the structure.
Step 12: Services rough-in
Before plastering, electrical conduits, junction boxes, plumbing lines, drainage connections and any gas or air-conditioning provisions are installed and tested. Pressure testing plumbing before closing walls prevents hidden leaks.
Step 13: Plaster and waterproofing
Walls and ceilings are plastered, and waterproofing is applied to roofs, bathrooms and other wet areas. Curing and testing follow before finishing begins.
Step 14: Finishing
This stage turns the structure into a home: flooring and wall tiles, doors and windows, woodwork, kitchen counters, sanitary fittings, putty and paint, electrical fittings and lighting, and false ceilings if planned. Samples and approvals prevent disappointments.
Step 15: Inspection and snagging
Inspect every room, test all fittings and note defects in a snag list. The builder corrects these items, and you re-inspect before final payment.
Step 16: Utility connections and handover
Electricity, water, gas and sewerage connections are arranged according to local procedures. The house is cleaned, and you receive keys, drawings, warranty terms and any relevant documents. Keep all records safely for future maintenance or resale.
Common mistakes to avoid
- Starting construction before approvals and final drawings
- Choosing a builder only by lowest price
- Changing the design repeatedly during construction
- Ignoring plumbing and electrical planning
- Skipping curing or testing to save time
- Not keeping written records of payments and variations
How long does it take?
Timelines depend on size, design, weather, approvals and finishing level. Rather than relying on rough guesses, ask your builder for a written schedule with milestone dates and review progress regularly.
Frequently asked questions
What documents do I need before construction?
Typically ownership papers, approved drawings, structural design and any permissions required by your authority or society. Requirements differ by area, so confirm locally.
Should I hire an architect before a builder?
Having a clear design first helps you get accurate quotes. Some construction companies also offer design coordination, so ask what is included.
When should I pay the builder?
Payments should follow agreed stages, such as foundation, structure and finishing, as written in the contract.
Can I live in the house during finishing?
It is usually unwise because of dust, safety and incomplete services. Wait until finishing and cleaning are complete.
Final thoughts
Building a house in Lahore becomes manageable when you follow the right order, document your decisions and work with a team that communicates clearly. Bin Sadiq Builders has guided clients through this process across Lahore and Islamabad since 2021, and we are happy to explain any step in more detail if you are planning your own project.
Planning to build, renovate or finish a property in Lahore? Bin Sadiq Builders offers residential, commercial, infrastructure, renovation, interior and turnkey construction across Lahore and Punjab. Call or WhatsApp us on 0300-4906422, email buildersbinsadiq@gmail.com, or visit our office at 7 km, Dubai Town Stop, Sher Shah Road, near Raiwind Road, Lahore (Monday to Saturday, 9am to 8pm). Built on trust. Built to last.
